Tools
This page contains information about the tools and software used in the course. See the Resources section of this site for additional information.
You can us that tools on your own computers or on the machines in the DIVMS labs. You can log in the lab machines either
- directly, by using one of the desktop computers in 301MLH, or
- remotely from any computer connected to the internet and running the NoMachine client to connect to the lab's Linux server or the VMWare View client to connect to the lab's MS Windows server; see the CLAS help pages for how to install and use those clients.
Alloy Analyzer 4
Installing the Analyzer
You can download the Alloy Analyzer 4 on your own computer or on the lab ones. The latest version is available here as a jar file and requires that Java 6 or later be installed on your machines (the lab machines do have Java already).
The easiest way to install the tool is simply to download the alloy4.2.jar file onto your Desktop and then launch it either by double clicking on its icon (Windows or Mac) or right-clicking the icon and then choosing "Open With java" (Linux).
Note 1: Mac users may want to install the Mac OS native version of the analyzer (alloy4.2.dmg).
Note 2: On Linux, Java might complain about not having enough space for the object heap. In that case, you will need to launch the Alloy Analyzer from a terminal window.
- Open a terminal and move to the subdirectory that contains the file alloy4.2.jar.
-
At the terminal's prompt, type:
- java -Xms512m -Xmx1024m -jar alloy4.2.jar &
Using the Analyzer
Click on the Help menu in the Analyzer's top bar for a quick guide on how to use the tool.
Kind 2
Kind 2 is a model-checker developed at the University of Iowa,
currently available for Unix-like systems only.
You can install and run Kind 2 on your own computer or you can use an online version.
The online interface should be mostly self-explanatory. More instructions may be added later.
In the meantime, here are some quick instructions on how to install Kind 2 and how to use it.
More information can be found Kind 2's GitHub page.
Installing Kind 2
If you want to use Kind 2 on your own computer, you can get its latest release, in either executable or source form, from Kind 2's main website. Kind 2 requires that you also install one of the three supported backend solvers. The default is Z3, which must be downloaded and installed separately. For your convenience, an Z3 executable for MacOS and for Linux can be found here.
Note: For Kind 2 to be able to use the Z3 executable, the directory where you put it must be in your execution path. Also note that Kind 2 does not have a GUI. It must be run in a terminal window in Linux/Mac OS.
Running Kind 2 on your machine
To use Kind it on a Linux/MaC OS machine- open a terminal;
-
at the terminal's prompt, type:
- filepath/kind2 options file
Using Kind 2
To use Kind 2, you first need to prepare the Lustre file you want to check by specifying your observer node and the properties you are interested in. To do that, add the following special comment in the body of the observer node:
--%MAIN;Then add below that one or more special comments of the form
--%PROPERTY bool_var;where bool_var is any Boolean variable declared in the observer node, and encoding a property of interest, as in
--%PROPERTY R1;
After that, you can call Kind 2 with that file.
For each property that it can solve within a given time limit or number of iterations, Kind 2 will tell you whether it is valid (i.e., invariant), invalid or unknown. For invalid ones it will provide a counter-example trace, with inputs leading to a state where the property is violated.
Note: If you want to focus only some properties, an easy way to disable the checking of a property is to add a space between the dash and the % symbol in --%PROPERTY.
You can do the same with --%MAIN if you have several
observer nodes to check in the same file.
Kind 2 Command-line Options
The following command-line options control its operation (run kind2 --help for a full list).
--timeout_wallsecs Run for secs seconds of wall clock time--timeout_virtualsecs Run for secs of CPU time--smtsolver {Z3|CVC4|mathsat5}Select SMT solver (the default isZ3)--z3_binfile Path to executable for Z3--cvc4_binfile Path to executable for CVC4--mathsat5_binfile Path to executable for MathSat5--bmc_maxk Run bounded model checking for up to k steps-vOutput informational messages
Dafny
Installing Dafny
The Dafny verifiers is available on-line. For faster responses and a smoother user experience, however, Dafny is best used as a plug-in for Visual Studio 2010 or later versions. Visual Studio 2010 is available on the CLAS Windows server and on the Windows machines in 301 MLH. If you want to use Dafny on your own computer, you will need to have a Professional Version of either 2010 or 2012 Visual Studio installed.
To configure Visual Studio 2010 for using Dafny, on your machine or on the lab computers, please follow the instructions listed below. (The procedure for Visual Studio 2012 is similar.)-
Ensure that the Dafny Language Extension is not already installed on your current machine.
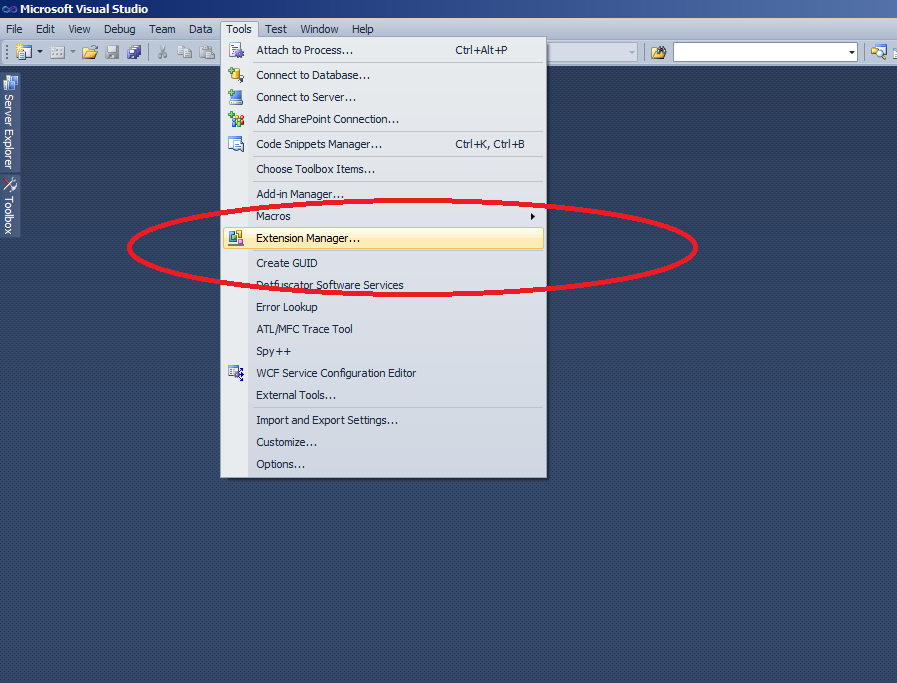
Open the Extension Manager as shown below.
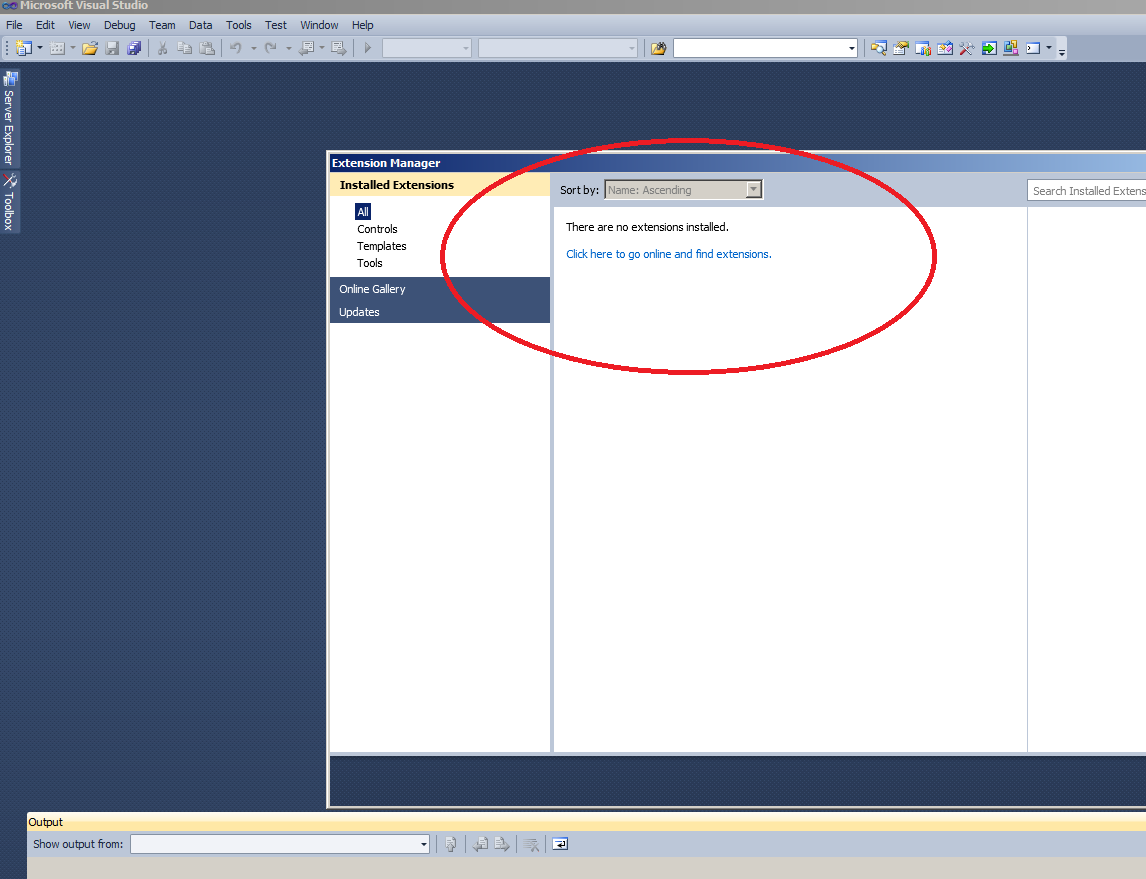
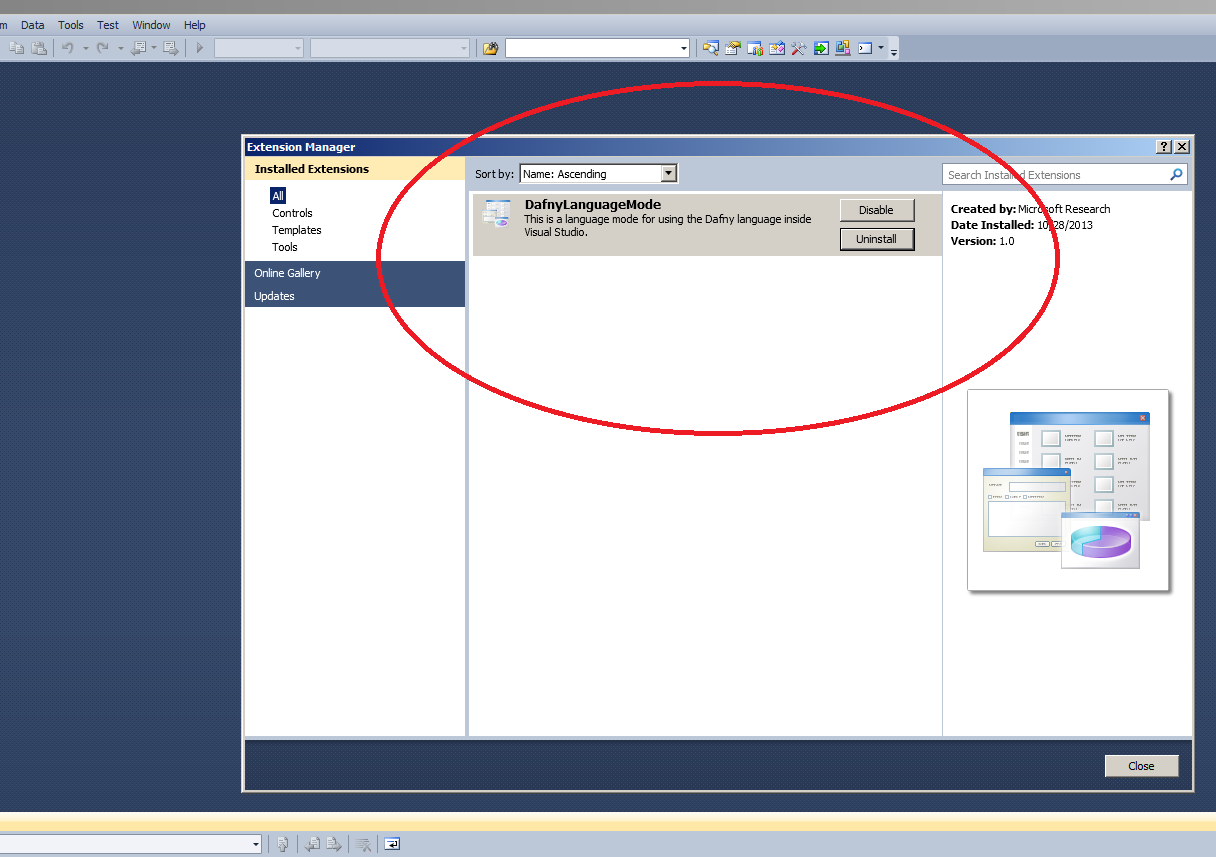
If you see Dafny Extension as shown below, un-install it.
Then close Visual Studio 2010.
-
Download the Dafny Language Extension and double click on it
(download this extension instead if you are using Visual Studio 2012).
Then click on Install in the Visual Studio Extension Installer.

- Open Visual Studio.
Using Dafny
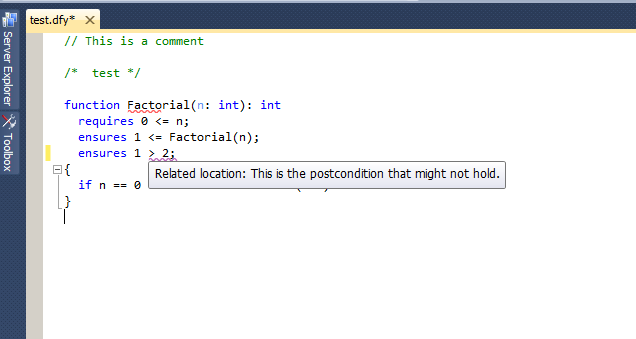
Opening a Dafny file (with a .dfy extension) with Visual Studio will allow you to see syntax highlighting as well as any errors, as underlined text, in the code or specification. Dafny is reinvoked automatically as you edit the text.
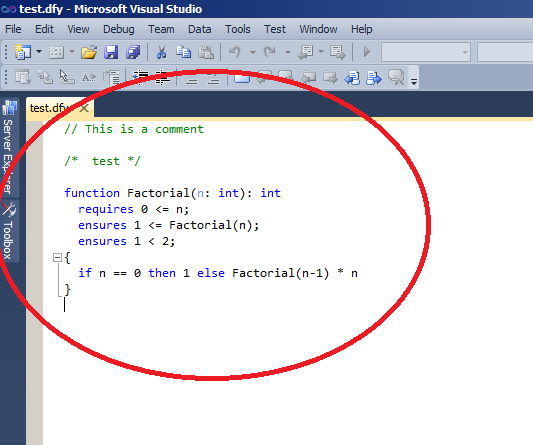
In this picture you can see that the condition ensures 1 > 2 might not hold. As such it is highlighted with purple.
